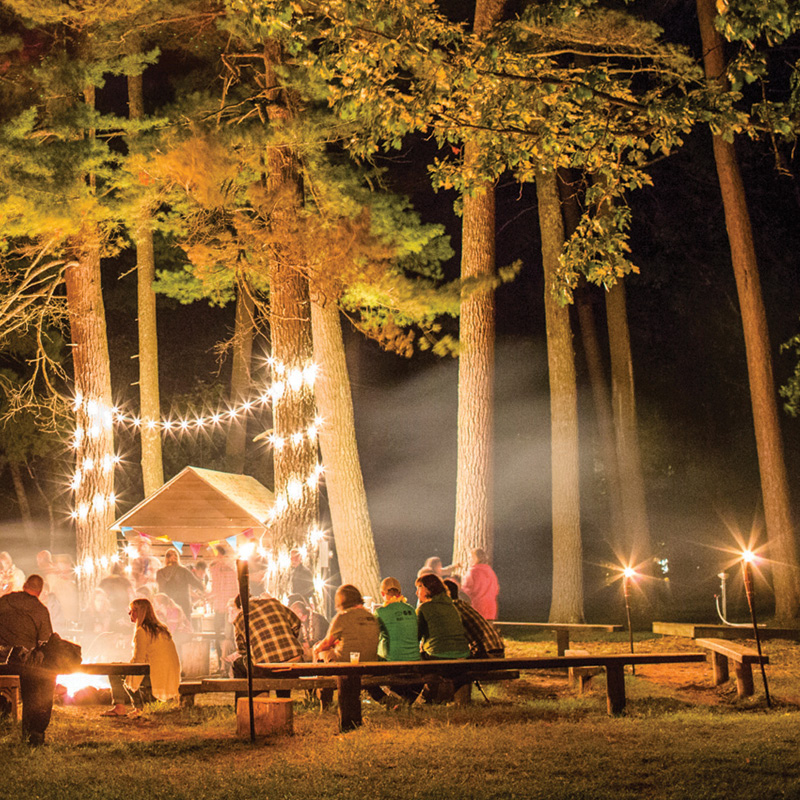
 Like afternoon thunderstorms and the shimmering trails of lightning bugs, campfires are an essential part of summers in Minnesota. And no campfire is complete without the sweet, sticky finale of a s’more (or three)! But before the treats can be assembled and scarfed down, there’s the tricky business of marshmallow toasting. Luckily, with a little science, you can avoid the singe and get mallows that are uniformly brown and perfectly gooey every time. Here’s how:
In every campfire, there are three types of heat transfer going on: conduction, convection and radiation. For marshmallow toasting purposes, we can forget about conduction, since it would involve touching the burning wood itself, and anyone who has ever turned their mallow into a bright blue torch knows why that isn’t ideal. Which leaves us other two.
If you set your mallow above the fire you’re putting it in what’s called the “convective flow.” This is where the hot gases are coming off the fire as dancing flames. And because they’re moving around it’s difficult to stay in the sweet spot—they’re either too hot or too cold.
So instead, you want to stay to the side of the flames and find an area where you see glowing coals. The glow indicates that they’re giving off electromagnetic waves, known as radiant energy, which delivers a more consistent heat.
Once you’ve found your spot, you want to slowly rotate your mallow at a safe distance. Remember that it is made up mostly of sugar, i.e. carbon, hydrogen, and oxygen, i.e. the perfect fuel! Patience here is key. You’ll know it’s ready when the sides start to turn a deep brown. This is what’s known as the Maillard reaction; it’s what happens between 140° and 165°C when parts of the sugars and amino acids react with each other, forming a complex mixture of delicious-tasting flavor compounds.
Your final cue will be when the marshmallow starts getting big and puffy. The pockets of air inside it are now hot enough that they’re expanding, and that means that you’ll have a perfectly warm, soufflé-like texture on the inside. Now all you need is some chocolate and a pair of graham crackers and you can crown yourself the chef d’ s’mores!
EXTRA CHALLENGE: Make Your Own Marshmallows!
- ½ cup confectioners’ sugar + extra for dusting
- 2 envelopes (1 Tbsp. plus 1½ tsp.) unflavored gelatin
- ½ cup cold water, divided
- 1 cup granulated sugar
- ¼ cup light corn syrup
- 1 / 8 tsp. salt
- 1 large egg white
- 1 tsp. vanilla extract
- Oil bottom and sides of a 13×9 baking pan and dust bottom and sides with some confectioners’ sugar.
- In a large bowl sprinkle gelatin over 1/4 cup very cold water, and let stand to soften.
- In a large, heavy saucepan, cook granulated sugar, corn syrup, second 1/4 cup of cold water, and salt over low heat, stirring with a wooden spoon, until sugar is dissolved. Increase heat and boil mixture, without stirring, until a candy or digital thermometer registers 240°F, about 12 minutes. Remove pan from heat and pour sugar mixture over gelatin mixture, stirring until gelatin is dissolved. With a standing or hand-held electric mixer, beat mixture on high speed until white, thick, and nearly tripled in volume. (About six minutes if using standing mixer, 10 minutes if using hand-held.)
- In separate bowl, beat egg white until it holds stiff peaks. Beat white and vanilla into sugar mixture until just combined. Pour mixture into baking pan. Sift ¼ cup confectioners sugar over top. Chill uncovered until firm, at least three hours, and up to one day.
- Run a thin knife around edges of pan and invert pan onto a large cutting board. Lifting up one corner of pan, loosen marshmallow and ease onto cutting board. Trim edges of marshmallow and cut into one-inch cubes. Sift remaining confectioners’ sugar back into your now-empty pan and roll the marshmallows through it, on all six sides, before shaking off the excess and packing them away.
Makes about 48 1-inch cubed marshmallows.
View the Summer 2016 Share PDF
Back to Summer 2016 Share articles